

[ESP8266 HTTP Client] Push Data To ThingSpeak Using ESP8266
♥️Hello my friends ♥️
Covid-19 is raging globally, so I have a little time to write this series, I'll make a Tutorial about ESP8266 along with some basic data transfer functions. ESP8266 must be familiar and popular with you guys, so I won't recommend it ! ^_^
ThingSpeak is a very popular HTTP protocol cloud platform because of its reliability, free for common users in IoT field. This platform is owned by The MathWorks, Inc., is a gobally renowned creation company of MathLab software, is well-known globally in all technical and economic fields.
I briefly outline the content of this blog, we'll using ThingSpeak to send data from the sensor to this server and we can view this data remotely. OK, let's get started!
PART 1: CREATE THINGSPEAK SERVER
Step 1: Create Account/Login ThingSpeak
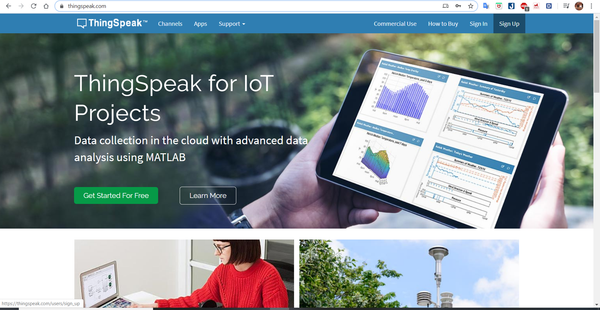
Frist, you access Website: www.thingspeak.com, then select Sign Up to create free ThingSpeak account!
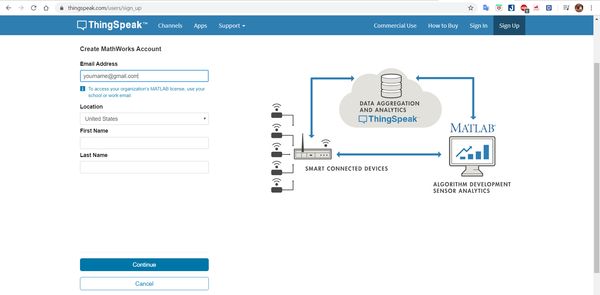
You enter Email address, Name (First Name and Last Name), Passwork and select Continue. ThingSpeak will send you a confirmation Email, you confirm and then go back to Sign In to login.
Step 2: Create ThingSpeak Channels
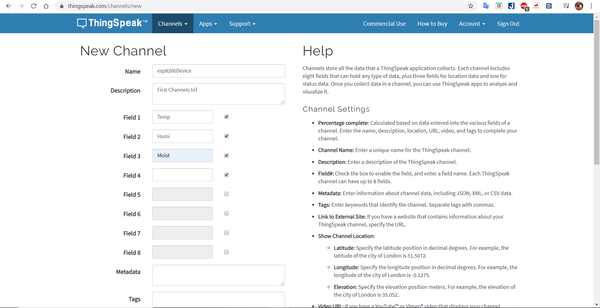
You select Channels Tab, select New Channel to create new channel

Enter channel name at Name box, enter describe at Description box, Field 1, 2, 4,...8 are the data fields that you'll send from ESP8266 Device to this Server, in this blog, I'll send 3 data field are: Temperature (Temp), Humidity(Humi) and Soil Moist(Moist). You click the mark on the right to allow this fields operation. Then select Save Channel to save.
ThingSpeak will then show 3 charts. However, there are no values because you haven't send data up here.
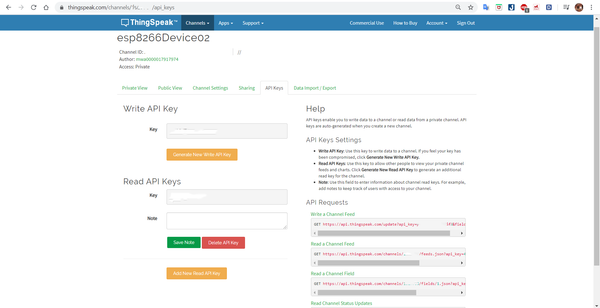
Step 3: Save Channel ID, Write API Keys and Read API Keys
Open API Keys tab, you'll see Channels ID, Write API Key, Read API Keys information, they are very important for your data (should be secure and saved), this ID and Keys help ThingSpeak permit your device send data up this server.
PART 2: INSTALLING DEVICES AND BUILD SOURCE CODE FOR ESP8266
Here is my device using for this blog:
1. Module WiFi ESP8266 CP2102 NodeMCU
2. Humidity and Temperature Sensor OneWire AM2301
3. Soil Moisture Sensor (ADC type)
Step 1: Installing Devices
I use Humidity and Temperature AM2301 to read temp and hum value from enviroment, this's the way to connect:
- Red pin (VVC) you plug in 3.3V output of ESP8266.
- Black pin (GND) you plug in GND output of ESP8266.
- Yellow pin (Data) you plug in GPIO of board, here I use D2 pin!
For Soil Moisture Sensor (ADC type), I also supply the voltage as above, however my data pin must use ADC pin A0 because the board has only one ADC input.
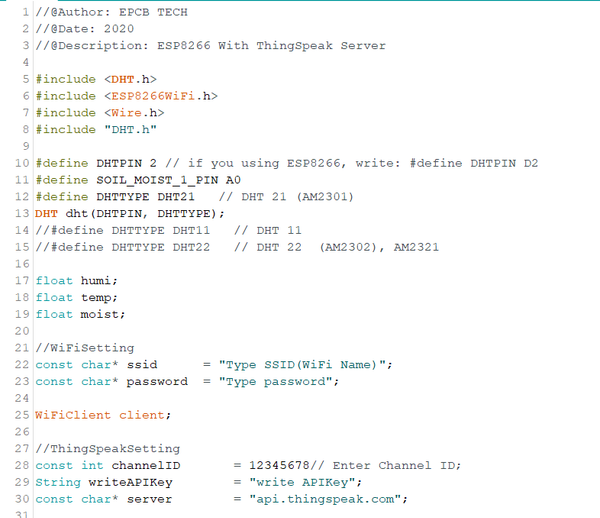
Step 2: Build Source Code for ESP8266 on Arduino IDE
For beginners with ESP8266 board, the code on the Arduino IDE will make it easier to access and create more excitement, so I would like to introduce how to program on this IDE, if you want to "try hard", you can using AT Command scripting or using Espressif genuine SDK.
- Download my sample code here:
https://github.com/VVCi/ESP8266HTTPServer, then open writeDataSensor file to build and upload code for ESP8266 board, readDataSensor I'll guide in another blog.
- Change some information in source code to build success!
+ For the definition (#define) for the pins, you just leave the default according to the connection method I have guided above.
+ Enter the SSID (WiFi name) in ssid box, enter PASSWORD in password box.
+ Enter the channelID, writeAPIKey (step 3, part 1 I showed you to save).
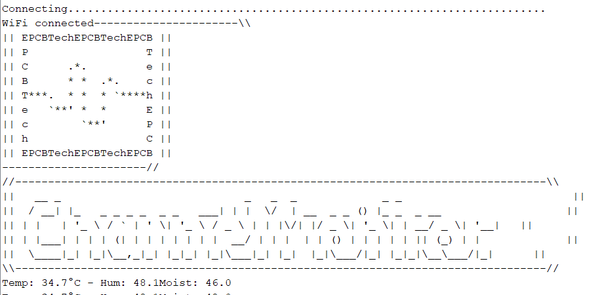
- Build and upload code for ESP8266 board, then open Serial/Terminal monitor, sensor values will be displayed.
- Now you go back to the channel ThingSpeak you created, the values of the sensors have been sent to the server and have a graph like this.
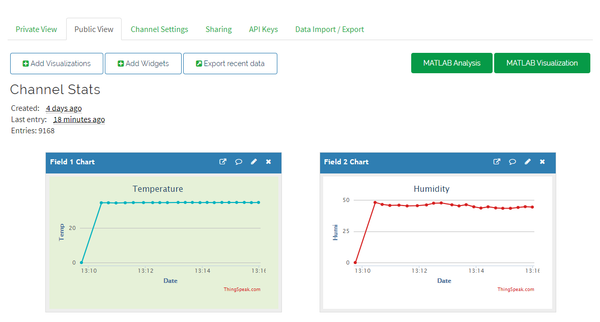
In the following blog, I'll guide you to adjust the charts to make it more beautiful, easier to observe and get these sensor values down from ThingSpeak Server.
I hope this blog will help you. If you have any questions, please message me via Fanpage: EPCB or via Email: epcbtech@gmail.com. I wish you succcess!
Comment facebook