[Arduino ZigBee Shield] Post1: Automatic System With Xiaomi Door Sensor And Arduino Zigbee Gateway
Hello my friend!
In this blog today, I'll guide you design a Simple Automatic Light System by using Xiaomi Door Sensor through Gateway Arduino Zigbee Shield. With library and sample code of EPCB, you can start making a ON/OFF system for your living room, bedroom, etc.
Let's get it started!
I built the following control script: Open Door -> Turn OFF Light, Close Door -> Turn ON Light.
Step 1: You guys prepare:
- 1 Arduino Uno R3 board
- 1 Arduino ZigBee Shield board
- 1 Xiaomi Door Sensor
- 1 Relay 5V Module
- 1 220V Lamp
then you asemble the device according to the video described above.
Step 2: Download sample library of EPCB TECH here: https://github.com/epcbtech/ArduinoZigBee, then proceed to import this library into the Arduino IDE in Windows or GNU/Linux.
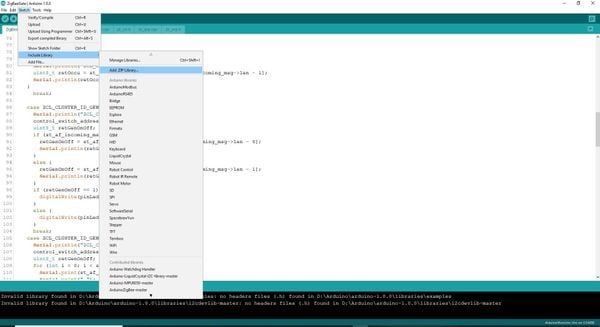
Step 3: To import the library, go to the IDE, select the tab Sketch --> Include Library --> Add .zip library, then select .zip file as the library you've just downloaded, plug in the Arduino R3 board with ZigBee Shield attached, select COM/dev port.

Step 4: Build file code SmartLight.zip and load to board.
Step 5: Proceed with connecting the sensor to the Gateway Arduino ZigBee:
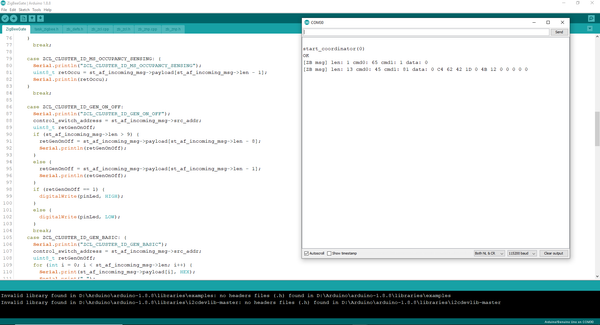
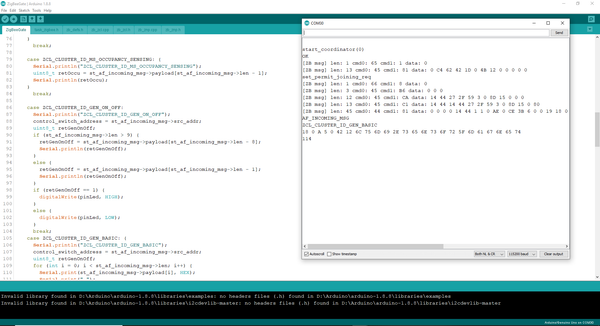
- Open serial/minicom monitor of IDE, select baud rate 115200, wait a moment for the Gateway to allow booting, when serial/minicom shows "OK" is accepted, then you press "1" in keyboard to allow connecting the sensor to the network, on the contrary, if there is show "NG", you can reset board and do it again until it show "OK".

- In the Door Sensor, you press and hold reset button in sensor until led flashes continously. You wait a moment while for the sensor to connect the Gateway is done!

Moreover, you can use this library and sample code to extend your system to other ZigBee devices like: Switch, Push Button, Humidity Sensor, Temperature Sensor, ... as you like.
I hope this blog will help you. If you have any questions, please message me via Fanpage: EPCB or via Email: epcbtech@gmail.com. Thank you for watching!


Comment facebook