

[Arduino] Morse Code Decoder
♥Hello my friend!♥
In this post, I use 1 board Arduino Uno R3, 1 button, 1 LED and 1 LCD I2C to abserve Morse code in display. This post is very simple for any Arduino beginner.
Step 1: Prepare the necessary components
1 Arduino Uno R3 board
2 Breadboard
3 Push button
4 LED 5mm (or SMD LED)
5 Resistor 220 Ω
6 Jumper wires Male - to - Male
7 LCD Text
8 Module I2C
Step 2: Connecting Components
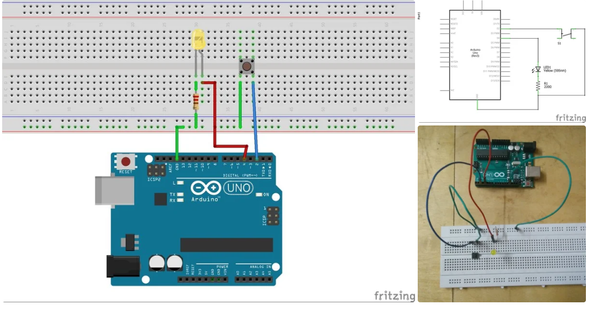
1. Connect one pin of push button to pin number 2 of Arduino Uno board and one pin of push button to GND pin of Arduino Uno.
2. Connect VCC pin of LED to pin number 4 of Arduino Uno and GNG pin of LED to GNG of Arduino Uno through resistor 220Ω.
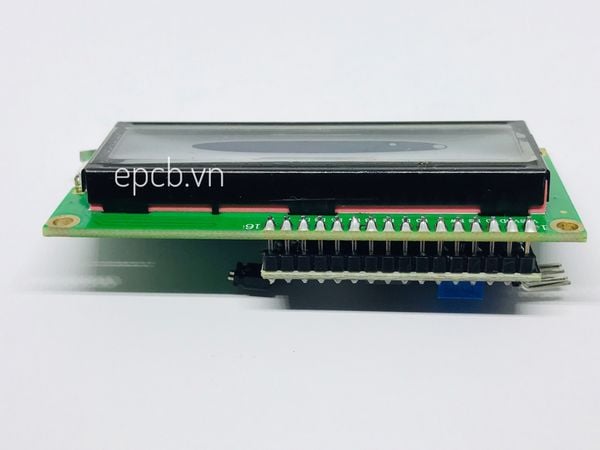
3. Solder I2C Module with LCD screen together as shown below:
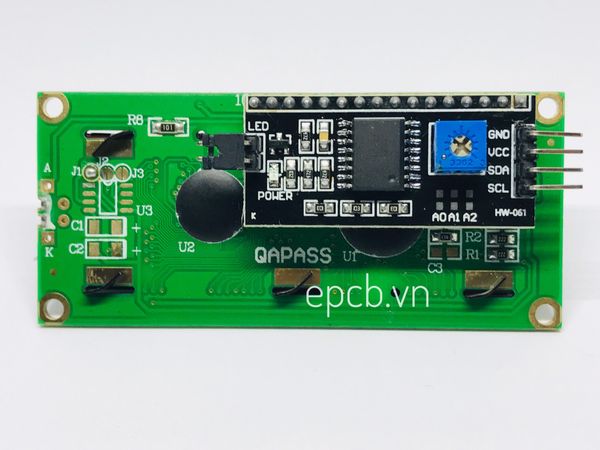
SDA and SCL pins are 2 signal pins for I2C communication. And to use the I2C communication module, you must download the LCD support library via I2C communication here.
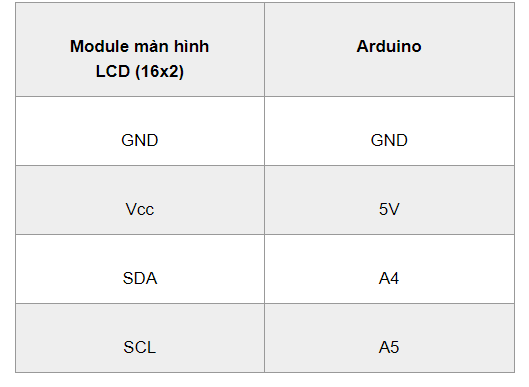
4. You connect LCD I2C with Arduino Uno as shown below. Because the library required to use two legs A4, A5
Step 3: Download code then upload code for Arduino Uno
You download code here
Step 4: Using Morse Code Decoder
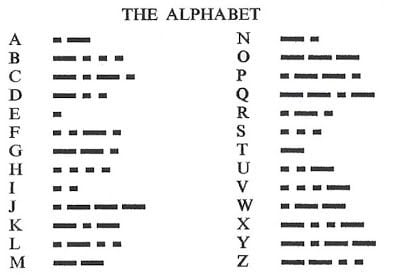
LEDs help you know how long the push button is pressed and you will see the difference between dots and dashes in the Morse code table.
You can look on the LCD I2C and notice its difference.
In case you have any difficulties in this project, please contact us for detailed instructions.
Comment facebook